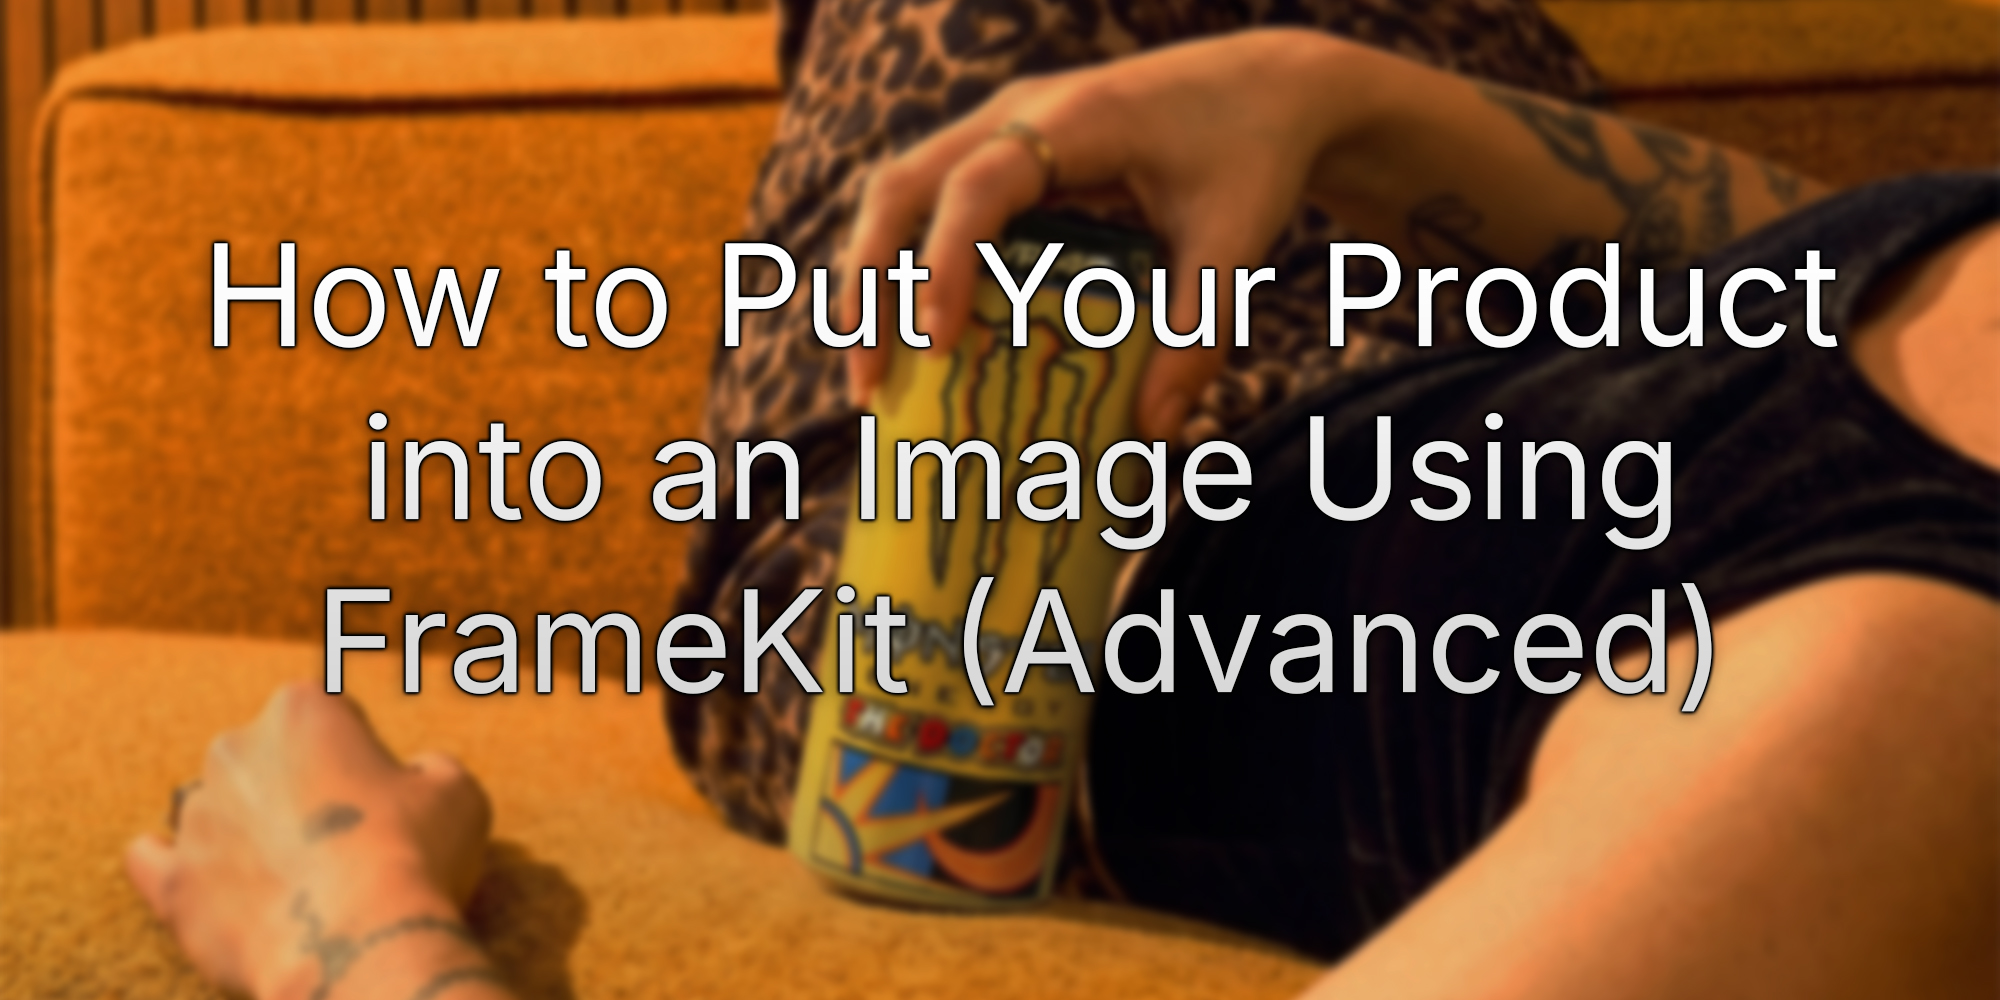
How to Put Your Product into an Image Using FrameKit (Advanced)
•
218 words, 1 minute read time
Once you have created your empty project, you will be presented with a visual of your product on a blank background.
Instructions
- Select the Create Images with AI button in your AI Toolkit, and place it in the scene. You are encouraged to attach a reference image for inspiration and to describe the image you want to create in more detail. Send this off, and FrameKit will begin the process.
- When your AI image has been created, you can refine your image using prompts located on the sidebar, adding, removing, or changing any scene assets you don’t like.
- On the Layers tab located in the sidebar, ensure that the Render Frame layer sits atop the AI Generated Image, to actually see your product on screen.
- From here, open up your 3D Workspace. Using this, you can transform your product using three essential controls – you can move it on screen, rotate it, and scale it to match the size you need. Once it’s in the correct position, you can render it using the Camera sidebar.
- If you are happy with your render, return to your AI Toolkit and find Relight with AI. You can adapt the strength, add custom instructions, and proceed.
When the image is finished, simply click Download, and you will have your finished product photo.